
As an Amazon Associate I earn from qualifying purchases.
Do you ever find yourself admiring the intricate nail art designs on Instagram and wondering how you can achieve such precision? If you’ve been dreaming of mastering the art of painting thin lines on your nails, you’re not alone.
Creating those delicate, precise lines can elevate your nail game to a whole new level, making them look salon-fresh without the hefty price tag. Imagine the compliments you’ll receive when your friends notice the artistic flair on your fingertips. It’s easier than you think, and with a few simple tips and tricks, you can achieve those sleek lines with ease.
Whether you’re prepping for a special occasion or just want to enhance your everyday look, learning how to paint thin lines on nails can be your secret weapon. Stick around, and discover how this small skill can make a big difference in your nail art repertoire.
Essential Tools For Nail Art
Creating beautiful nail art with thin lines requires more than just a steady hand; it demands the right tools. Having essential tools can transform your nail art from basic to breathtaking. You might not have started with all these tools, but adding them to your kit can make a significant difference in your nail art journey.
Fine Detail Brush
A fine detail brush is a must-have for painting thin lines on nails. These brushes have slender bristles that offer precision and control. You can find them in art stores or online, often labeled as “striping brushes.”
Striping Tape
Striping tape is a thin, adhesive tape used to create straight lines or geometric patterns on nails. It acts as a guide, ensuring your lines are clean and even. You can use it to section off parts of your nail, paint over it, and then peel it away for sharp lines.
Dotting Tool
While primarily used for dots, a dotting tool can also help in creating thin lines. By dragging the tool gently across the nail, you can achieve smooth, thin lines. Experimenting with dotting tools can lead to unexpected and unique designs.
Nail Art Pen
Nail art pens are like markers for your nails. They allow for precise application and are great for beginners. With a steady hand, you can draw intricate designs or write words directly on your nail.
Acetone And Clean-up Brush
Mistakes happen, but with acetone and a clean-up brush, you can easily correct them. Dipping a small brush in acetone lets you clean up edges and perfect your lines. This tool is essential for maintaining a professional look.
Have you ever tried using these tools? If not, consider adding them to your nail art routine. They can save you time and frustration, allowing you to focus more on creativity and less on correcting errors. The right tools can make all the difference in achieving your desired nail art results.
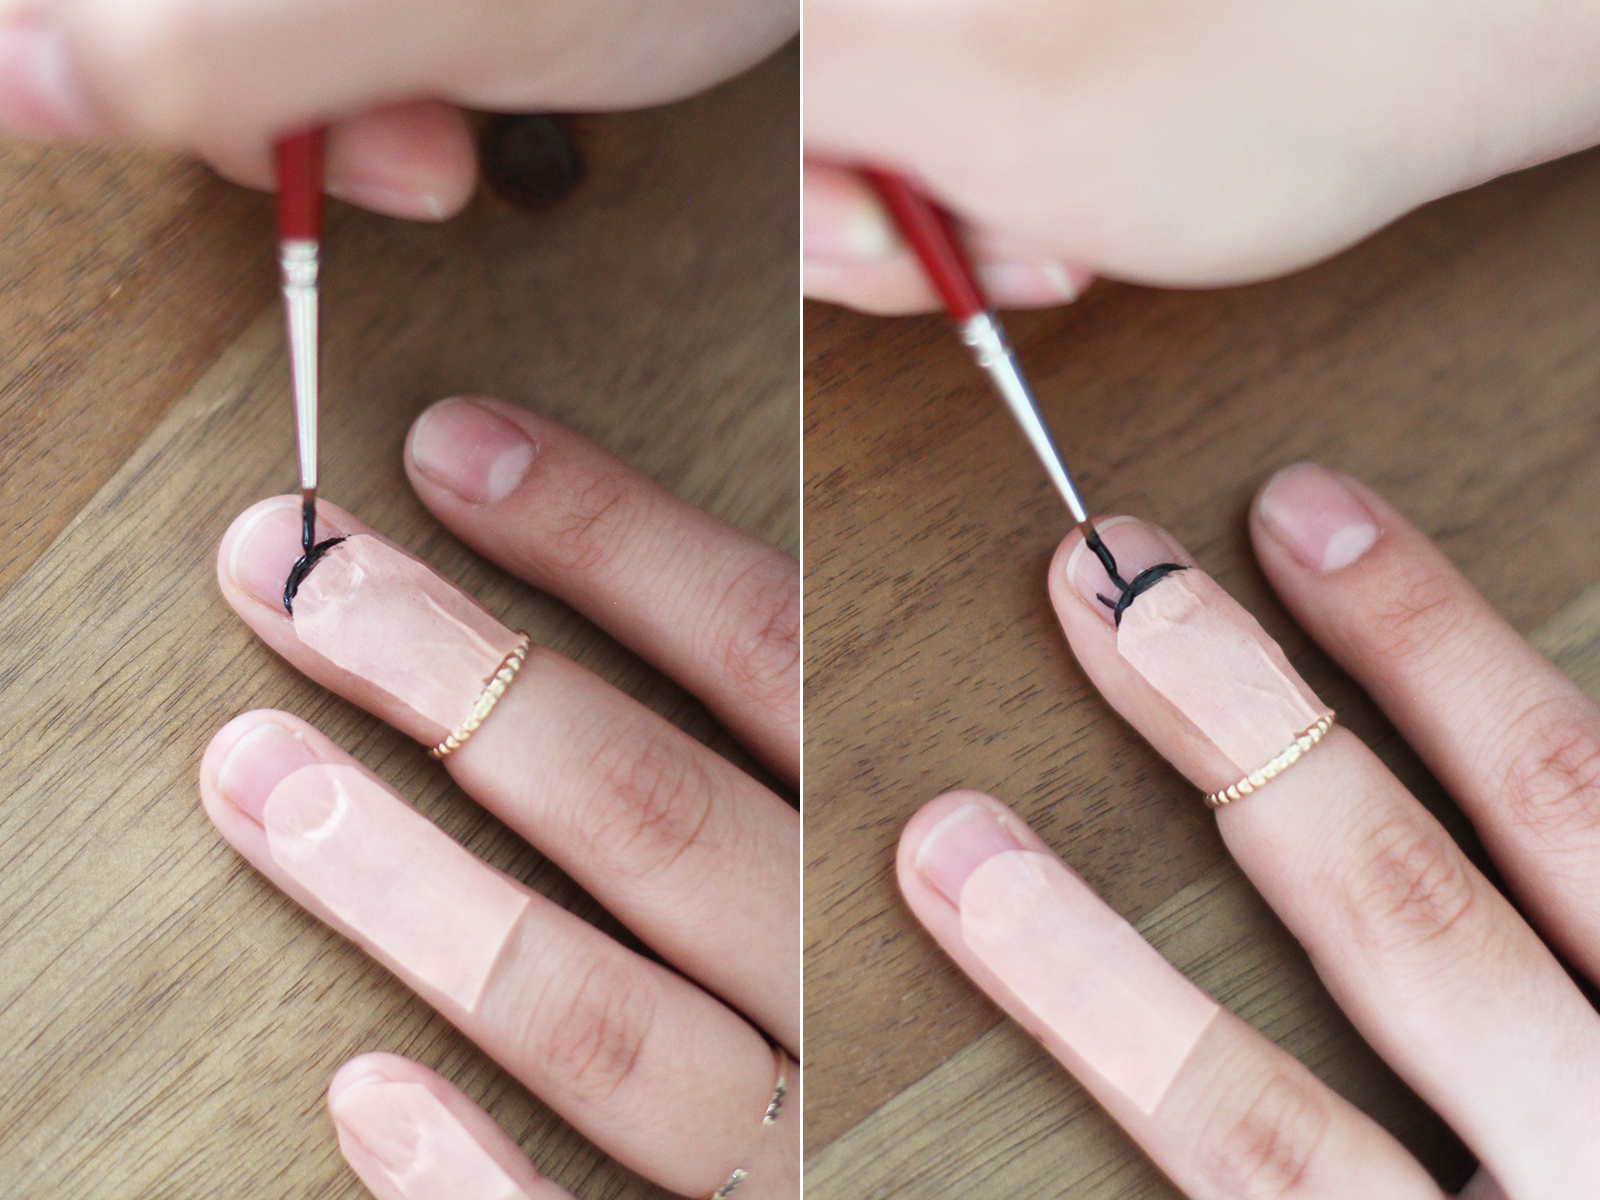
Credit: honestlywtf.com
Choosing The Right Brush
Choosing the right brush is crucial for painting thin lines on nails. The brush you use can make or break your design. With the right tool, creating precise lines becomes easier. Let’s dive into what you should consider.
Brush Type
Different brushes serve different purposes. For thin lines, opt for a striping brush. These brushes have long, thin bristles. They allow for smooth, continuous strokes. Detail brushes can also work well. They are smaller and help in tight spaces.
Brush Material
Brush material affects performance. Synthetic bristles are a popular choice. They are durable and easy to clean. Natural bristles provide a softer touch. They absorb polish well but may require more care.
Handle Length
The handle length matters for control. Shorter handles offer more precision. Longer handles provide better reach. Choose based on your comfort and style.
Brush Maintenance
Proper maintenance extends brush life. Clean brushes after each use. Use a mild cleaner and reshape the bristles. Store them upright to maintain their shape.
Cost And Quality
Balance cost and quality. High-quality brushes are an investment. They last longer and perform better. Budget options can still work well. Test a few to find your preference.
In essence, the right brush simplifies nail art. It enhances your skills and boosts confidence. Choose wisely for the best results.
Preparing Your Nails
Painting thin lines on your nails requires precision and patience. Before you start, it’s essential to prepare your nails properly. This ensures a smooth application and a long-lasting finish. A well-prepared nail surface is the foundation of any great nail art. Let’s dive into the steps for preparing your nails.
Clean Your Nails Thoroughly
Begin by washing your hands with soap and water. This removes dirt and oils. Use a nail brush to clean under your nails. Ensure no residue is left. Dry your hands with a clean towel.
Remove Old Nail Polish
Use a gentle nail polish remover to wipe away old polish. Soak a cotton ball in remover. Swipe it over your nails until clean. Old polish can interfere with new designs.
Shape Your Nails
Trim your nails to your desired length. Use a nail file to shape them. Round or square shapes work well for thin lines. File in one direction to avoid splitting.
Buff The Nail Surface
Buffing smooths the nail surface. Use a nail buffer for this step. Gently rub the buffer across each nail. This helps the polish adhere better.
Apply A Base Coat
A base coat protects your nails. It also creates a smooth canvas. Apply a thin layer and let it dry completely. This step is crucial for a flawless finish.
Mastering Thin Line Techniques
Painting thin lines on nails requires patience and precision. Start with a thin brush for control. Steady your hand, and draw slowly for accuracy. Practice regularly to perfect your technique.
Mastering thin line techniques on nails can elevate your nail art game to a whole new level. Whether you’re aiming for sleek stripes or intricate patterns, getting those lines just right requires practice and the right techniques. The following tips will help you refine your skills and achieve the precision needed for a professional finish.
Steady Hand Practice
Maintaining a steady hand is crucial for painting thin lines. Start by anchoring your painting hand with your pinky finger on a flat surface. This provides stability and reduces shaking. Regular practice can greatly improve your steadiness. Try drawing lines on paper before transitioning to nails. Set aside a few minutes each day for this exercise. Consider your breathing. Inhale, then exhale slowly as you draw the line. This simple technique helps keep your hand steady and your mind focused.
Pressure Control
Understanding pressure is essential when painting thin lines. Light pressure results in finer lines, while heavier pressure can cause them to widen. Experiment with different brush types to see which gives you the best control. A thin, fine-tipped brush is often ideal for delicate lines. Reflect on your last nail art attempt. Did your lines come out thicker than expected? Adjusting your pressure could be the key to achieving the thinness you desire. What if your lines still come out uneven? Adjusting the angle of the brush might help. Holding the brush more vertically can give you better control over line thickness. Achieving mastery in thin line techniques requires patience and persistence. Are you ready to dedicate time to practice these skills? The precision you develop will be well worth the effort.
Using Nail Tapes For Precision
Creating perfect thin lines on nails demands precision. Nail tapes offer an easy method to achieve this. They are simple strips used to guide your polish application. This technique is ideal for beginners aiming for nail art sophistication.
What Are Nail Tapes?
Nail tapes are thin, adhesive strips. They help in creating straight lines. Available in various colors, they add style to your nail design. Their adhesive nature ensures they stay in place during the painting process.
How To Apply Nail Tapes
Begin with clean, dry nails. Cut the tape to your desired length. Position the tape where you want your line. Ensure it adheres well to avoid polish seeping under. Press gently to secure it. This sets the stage for precise lines.
Painting Over Nail Tapes
Once the tape is in position, apply your polish. Use a steady hand for best results. Allow the polish to dry slightly before removing the tape. This prevents smudging and ensures clean lines. The tape acts as a barrier for perfect edges.
Choosing The Right Tape Width
Consider your design when selecting tape width. Thin tapes are ideal for delicate lines. Wider tapes suit bold designs. Matching tape width to your design enhances the final look. Experiment with different widths for unique effects.
Benefits Of Using Nail Tapes
Nail tapes simplify the nail art process. They ensure precision in line creation. They are cost-effective and easy to use. The visual appeal they add is undeniable. A simple tool, yet essential for nail art enthusiasts.
Common Mistakes To Avoid
Avoid too much polish on the brush for thin lines on nails. Let each layer dry before adding another. Clean the brush regularly to maintain precision.
Painting thin lines on nails can elevate your nail art game, adding precision and style. However, many people stumble upon common mistakes that can be easily avoided. Understanding these pitfalls will help you create flawless designs that impress. So, let’s dive into these mistakes and learn how to steer clear of them.
Using The Wrong Brush Size
Choosing the right brush is crucial. A brush that’s too thick will not give you the delicate lines you desire. Opt for a fine-tipped brush specifically designed for nail art. If you’re struggling, it might be time to switch brushes. A friend once gifted me a set of nail art brushes, and it was a game-changer. The smaller brushes made my lines cleaner and more precise. Try it and see the difference yourself.
Applying Too Much Pressure
Heavy-handedness can lead to thicker, uneven lines. Practice using a gentle touch when painting. Consider this: the lighter your hand, the finer your lines. It’s all about control. Next time you’re painting, ask yourself, “Am I pressing too hard?” It’s a small adjustment that can transform your designs.
Skipping Base Coat
Skipping the base coat is a mistake that can cause your lines to smudge or bleed. A base coat acts as a smooth canvas for your art. Think of it like prepping a wall before painting it. Without it, your masterpiece could turn into a mess. Ensure you have a solid foundation to build upon.
Not Letting Layers Dry
Patience is key. Rushing to add lines before the base color dries can result in smudges. Allow each layer to dry completely. Ask yourself, “Am I rushing through the process?” Taking time between layers can make all the difference. Use this time to plan your next move or sip your favorite beverage.
Ignoring Practice
Practice truly makes perfect in nail art. If your lines aren’t coming out as planned, keep practicing. Consider setting aside time specifically for practicing thin lines. As you practice, your control and confidence will grow. Remember, every artist started somewhere.
Using Thick Nail Polish
Thick polish can lead to clumpy lines. Use thin, high-quality polish for better results. Have you checked the consistency of your polish lately? If it’s too thick, it’s time for a change. A fresh bottle might be your next best friend.
Overlooking Cleanup
Messy lines can ruin your nail art. Keep a small brush or cotton swab handy for cleanup. Do you have the right tools for the job? A small cleanup brush can rectify mistakes quickly, ensuring your design stays sharp and clean.
Not Planning Your Design
Jumping in without a plan can lead to uneven lines. Visualize your design before you start. Have you mapped out your masterpiece? Sketching your idea beforehand can save you from making adjustments mid-process. Planning gives your art direction and purpose. By avoiding these common mistakes, you’re on your way to creating stunning nail art with thin lines. Practice, patience, and the right tools are your allies. What will you create next?
Expert Tips For Perfect Lines
Achieving perfect thin lines on nails requires patience and practice. Steady your hand and use a fine brush. Choose high-quality nail polish for smooth application. A striping brush can help create precise lines. Let each layer dry completely before adding more details.
Painting thin lines on nails can seem like a daunting task, especially if you’re aiming for that perfect, salon-quality look. However, with a few expert tips, you can easily master this skill at home. In this section, we’ll share some practical and actionable advice to help you achieve those sleek and stylish lines with confidence.
Choose The Right Brush
Selecting the appropriate brush is crucial for precision. Opt for a thin, fine-tipped brush specifically designed for nail art. A quality brush can make the difference between a clean line and a messy smudge.
Maintain A Steady Hand
A steady hand is key to painting straight lines. Rest your painting hand on a flat surface to minimize shaking. Practice makes perfect, so don’t be discouraged if your first few attempts aren’t flawless.
Thin Your Polish
Thick polish can lead to uneven lines. If your polish feels too thick, add a few drops of nail polish thinner. This will help the brush glide smoothly across your nail, creating a crisp line.
Use Tape Or Guides
If freehand isn’t your strong suit, nail tape or guides can be a lifesaver. Place the tape where you want your lines and paint over it. Once the polish is dry, remove the tape to reveal a perfect line.
Clean Up Mistakes Quickly
Mistakes happen, but they’re easy to fix if addressed promptly. Keep a small brush and some nail polish remover handy. Gently erase any errors before the polish dries.
Practice On Paper First
Before you dive into painting your nails, practice on paper. Draw lines with your brush to get a feel for the pressure and movement required. This can greatly improve your technique.
Consider Your Angle
The angle at which you hold the brush affects your line. Try holding the brush at different angles to see what feels most comfortable. Adjusting your angle can lead to more control and better results. Have you ever tried painting thin lines on your nails? What tips worked best for you? Experiment with these techniques, and soon, you might find yourself creating intricate nail designs with ease.

Credit: www.youtube.com
Caring For Your Nail Art Tools
Creating stunning nail art requires precision and the right tools. Proper care ensures your tools last longer and perform better. Clean, well-maintained tools lead to flawless thin lines on nails.
Cleaning Your Brushes
Cleaning brushes after each use is crucial. Residue buildup affects brush performance. Use gentle soap and warm water to clean brushes thoroughly. Dry them with a soft cloth to maintain their shape.
Storing Your Tools
Proper storage prevents damage and keeps tools ready for use. Store brushes upright in a clean, dry container. Avoid direct sunlight which can cause wear over time.
Replacing Worn Tools
Worn tools affect nail art quality. Check brushes for frayed bristles regularly. Replace them to ensure precise lines and vibrant designs. Quality tools make a noticeable difference.
Investing In Quality Tools
Quality tools improve nail art outcomes. Invest in brushes made from durable materials. They maintain their shape and last longer. Good tools save time and effort.
Frequently Asked Questions
How Can I Paint Thin Lines On Nails?
To paint thin lines on nails, use a nail art brush or a striping brush. These tools have fine bristles that allow precision. Practice steady hand movements to maintain accuracy. For best results, ensure the brush is clean and the nail polish is smooth.
What Tools Are Needed For Nail Line Art?
For nail line art, you need a striping brush, nail polish, and a base coat. A top coat is also helpful for sealing the design. These tools help create precise lines and maintain the artwork’s longevity on your nails.
Can Beginners Paint Thin Nail Lines Easily?
Yes, beginners can paint thin lines with practice. Start with simple designs and use a striping brush for precision. Steady hands and patience are key. Over time, you’ll improve your technique and gain confidence in creating intricate nail art.
Which Nail Polish Works Best For Thin Lines?
Gel nail polish works best for thin lines. It offers smooth application and vibrant colors. Gel polish dries quickly and maintains the design well. Choose a polish that provides good coverage and doesn’t smudge easily for clear, sharp lines.
Conclusion
Painting thin lines on nails can be simple and fun. With practice, your skills will improve quickly. Start with the right tools and steady hands. Remember to keep your lines straight and clean. Experiment with colors and designs to express your style.
Enjoy the creative process and don’t fear mistakes. They help you learn. Share your nail art with friends and get inspired. Nail painting is an art anyone can enjoy. Keep trying and have fun decorating your nails!
As an Amazon Associate I earn from qualifying purchases.